
Since a new deck was needed to go to the UK with (a one man tour of sorts) and we weren’t quite ready to screen decks (yes that is coming your way in the not so far future) I had to make due with a die cut vinyl stencil that Mikhel made a while back.
Here’s how it went along with some Oh My Back Instagram photos…
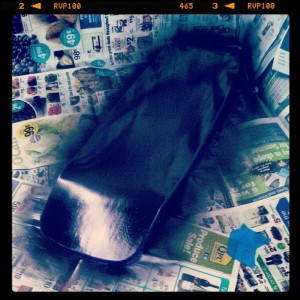
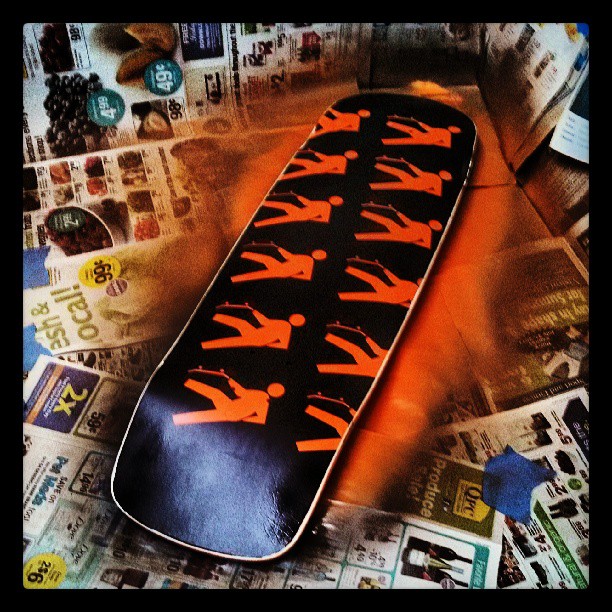
- Mask off the edges so you can see the laminates and then paint the deck. In this case I sprayed it black.
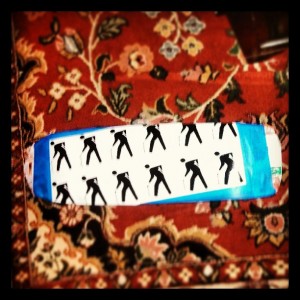
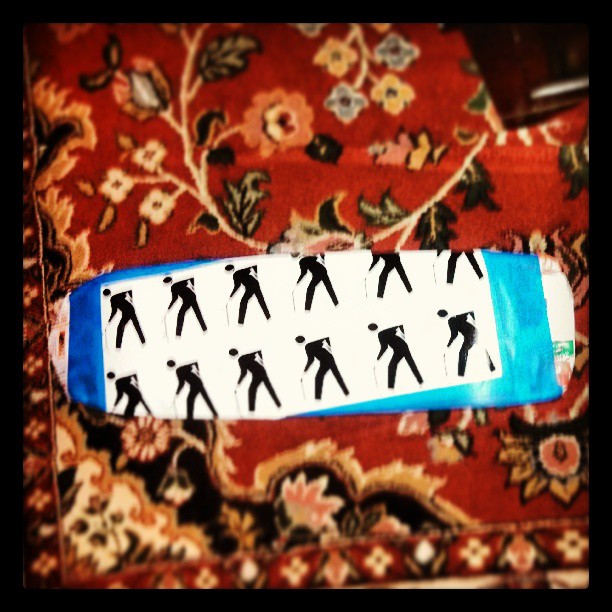
- Next apply the stencil and a lot of blue tape and newspaper so you don’t get paint where it’s not wanted.
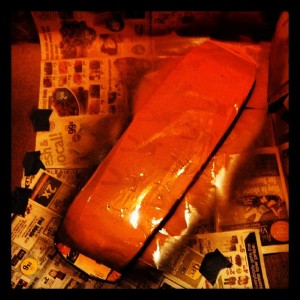
- Then spray that thing. In this case with orange. I know it’s not yet Halloween but black and orange look great together.
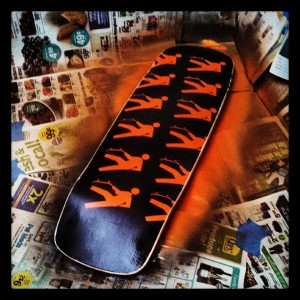
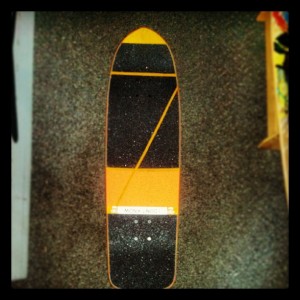
- When all that is dry peel the stencil off the deck and apply some clear to finish it off.
- Then you probably want to put some grip tape on it. Patterns and colors can be fun there too. I had some help from Mike and Brian at Gravity Sports.
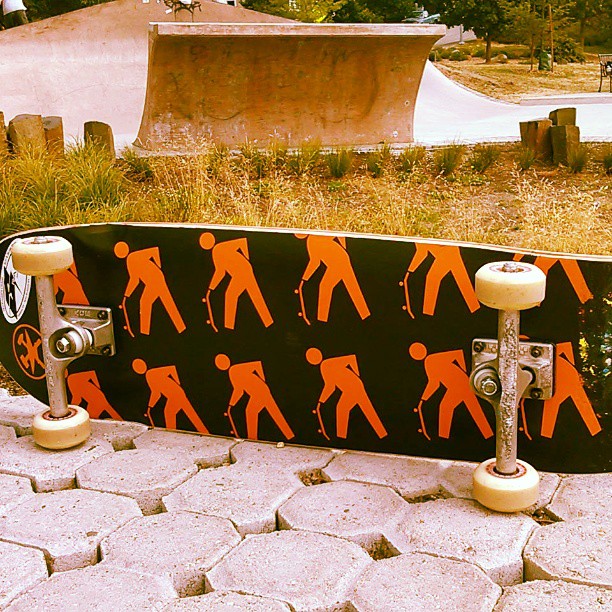
- I needed to transfer the trucks off the old deck onto the new one with new hardware, bushings, and pivot bushings. In this I got some additional help from Mike and Brian again as I can’t seem to find the right tools.

- Then the trucks and wheels are on the board after some professional help…
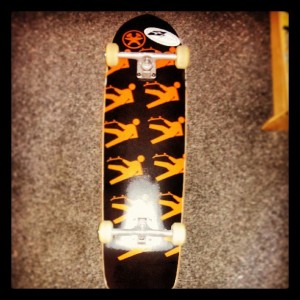
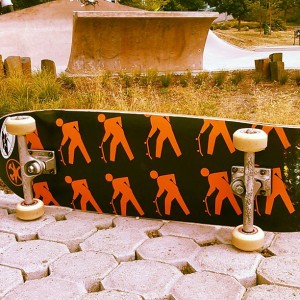
- And then it’s time to go skate and it was good.


Thanks to Mikhel, Mike, Brian, and Erik for photos and help with all of this. Stay tuned for what we get up to next!
Hurry up and do one while im in town hehehe.
Zach Silver liked this on Facebook.